
 Music Production
How to Record Acoustic Guitar: A Practical Guide
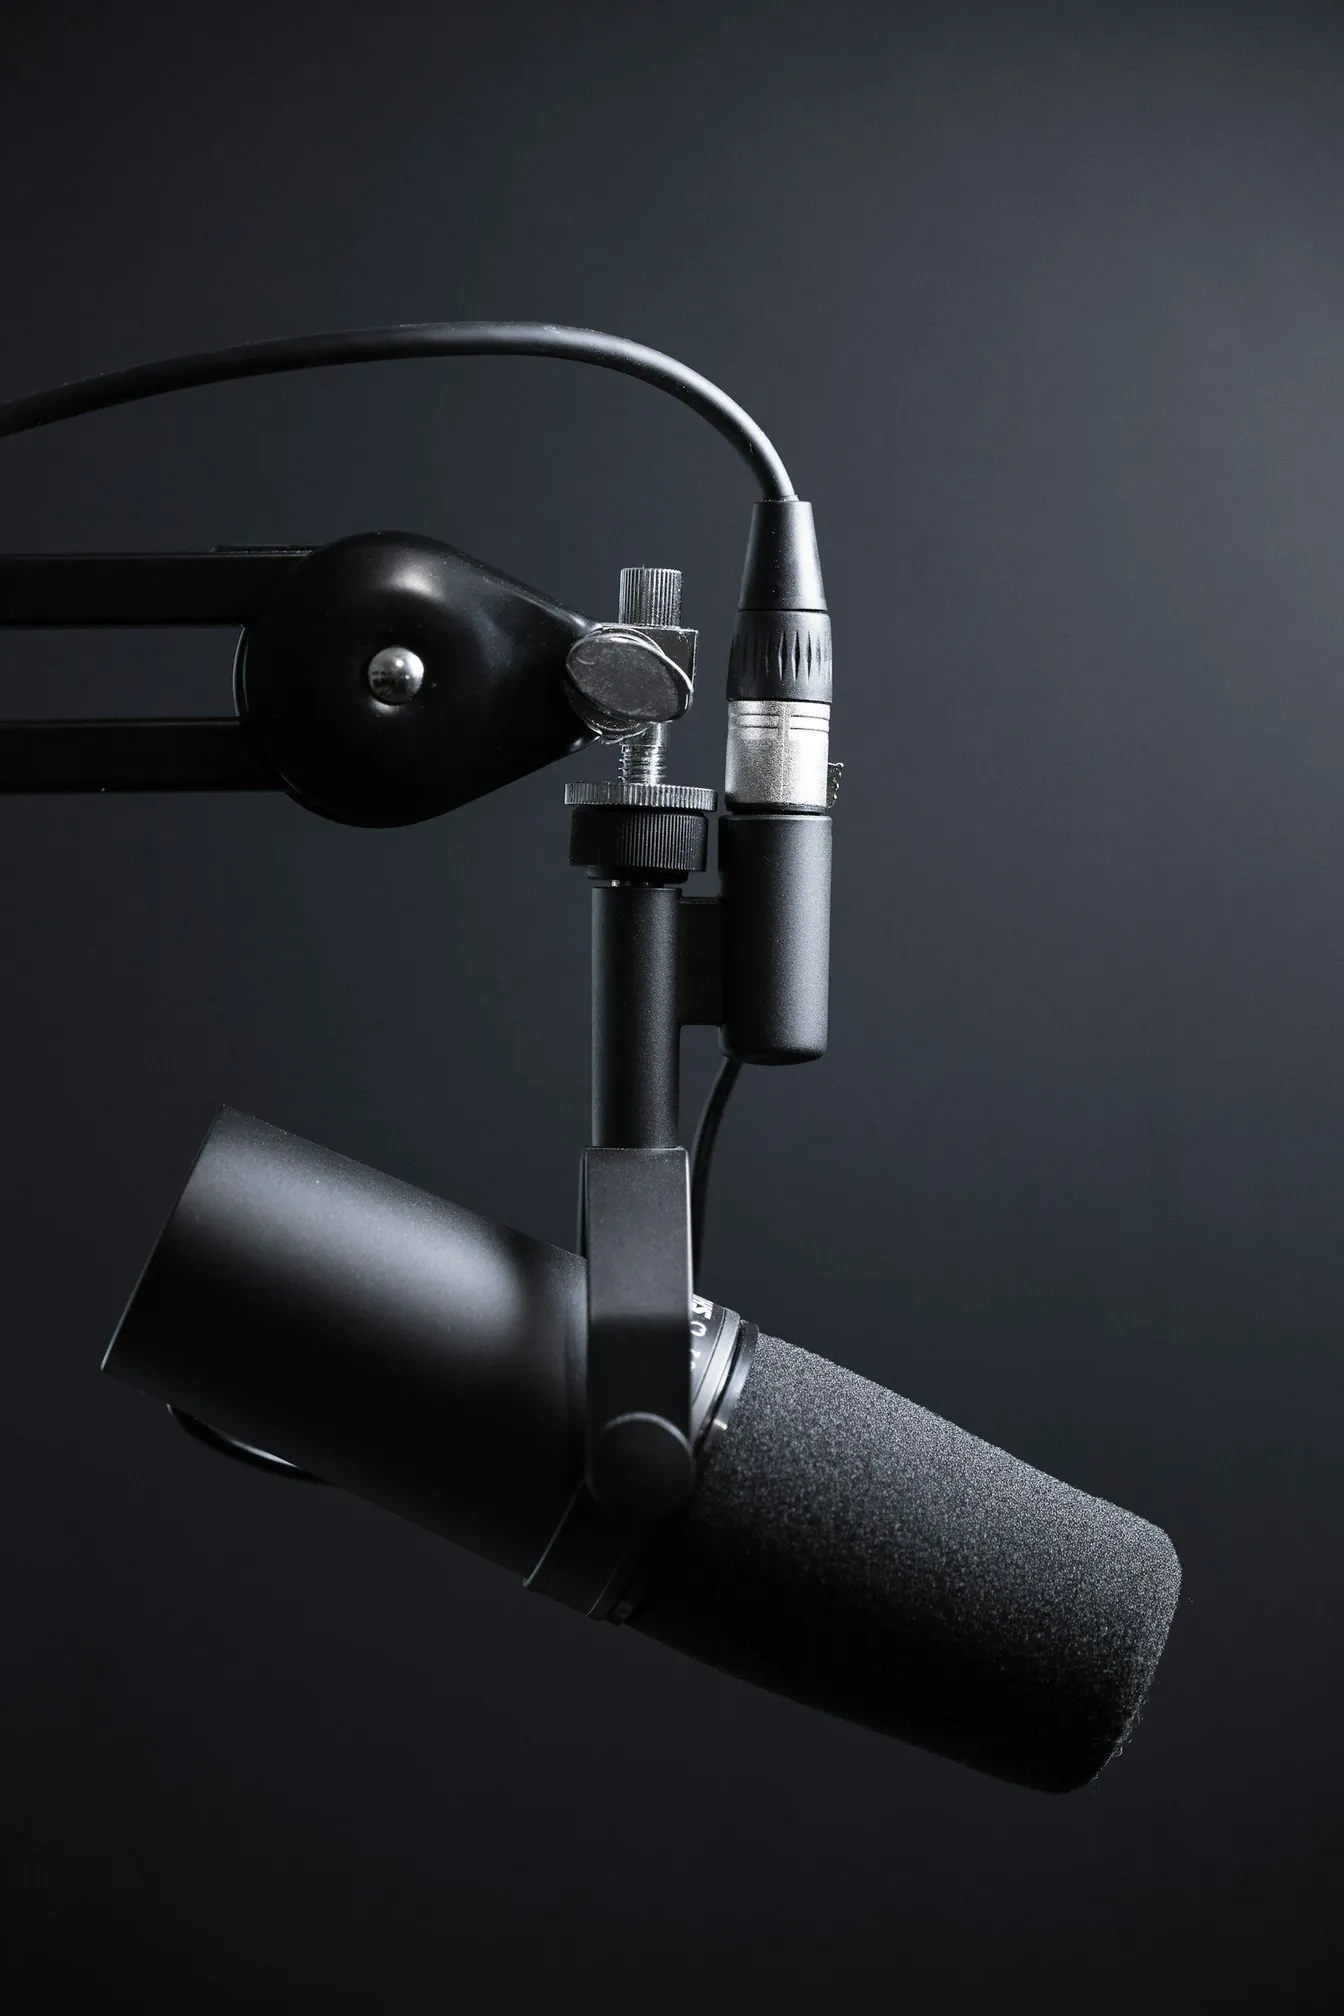
A well-placed microphone and a prepared guitar capture more character than any plugin can fake. Acoustic guitar rewards patience: small moves of the microphone change the whole character of the recording.
Recording acoustic guitar well is a craft of preparation and listening. The instrument, the room, the microphone and the player all matter, and the good news is that none of them needs to be expensive. This guide walks through the order that professional sessions follow.
Start with the instrument and the room
Fresh strings, wiped down after playing, give a bright, articulate signal; week-old strings give a dull one. Tune carefully between takes, check intonation at the twelfth fret, and quiet the room: close windows, silence fans, and soften hard reflections with a duvet or rug around the recording spot. Play a few bars and listen to the guitar in the room first, because the microphone will hear whatever you hear.
Choosing a microphone and where to point it
A small-diaphragm condenser is the classic choice for its detailed, even response; a large-diaphragm condenser gives a warmer, rounder picture that flatters thin instruments. Start with the microphone roughly fifteen to twenty centimetres from the guitar, aimed where the neck joins the body, slightly off-axis to soften string noise. Moving toward the soundhole adds bass and boom; moving toward the twelfth fret adds clarity and air. Make one small move at a time and record short tests.
One microphone or two?
Two microphones can capture body and fretboard separately, but they introduce phase risk: when the same string reaches each capsule at slightly different times, frequencies cancel and the combined tone thins out. If you use two, keep them separated by at least three times their distance to the guitar, and always check the summed mono signal before committing. A single well-placed microphone still wins most home sessions.
Levels, takes and performance habits
Aim for a healthy recording level with generous headroom below clipping; acoustic recordings carry wide dynamics, especially with strumming. Record full passes before punching in repairs, and keep the player's posture and hand position consistent between takes so edits stay invisible. Capturing a little of the room and the player's natural movement is a feature, not a flaw, as long as the level is stable.
After the take: editing and layering
Gentle compression, a high-pass filter below the guitar's fundamentals and honest balancing usually serve the instrument better than heavy processing. For fullness, double-track the part and pan the two performances apart rather than duplicating a file. If the song needs the guitar to carry an arrangement, our music arrangement service helps decide when acoustic guitar should lead and when it should support, and our walkthrough of the production stages shows where tracking fits in the bigger picture.
Frequently asked questions
Should I place the microphone over the soundhole?
Not as a first choice. The soundhole carries the strongest low end and can sound boomy up close. Aim between the soundhole and the twelfth fret, slightly off-axis, and move closer to the soundhole only if the recording genuinely lacks body.
Can I record through the guitar's pickup instead?
You can, but under-saddle pickups often sound thin and harsh compared with a microphone. A pickup blend works well on stage, but at home a microphone in a quiet room almost always wins. If the room is noisy, a pickup plus careful equalisation is a workable fallback.
What recording level should I aim for?
Set gain so normal playing peaks with clear headroom below clipping, then check the loudest strummed passage. Acoustic transients spike quickly, and a clipped take cannot be repaired, so leaving space is always the professional choice.
Want your acoustic tracks to sound their best from the first take? Book a session with Sinus Media and record in rooms built for exactly this.
Keep Reading