
 Music Production
How to Record Vocals at Home: A Practical Studio Guide
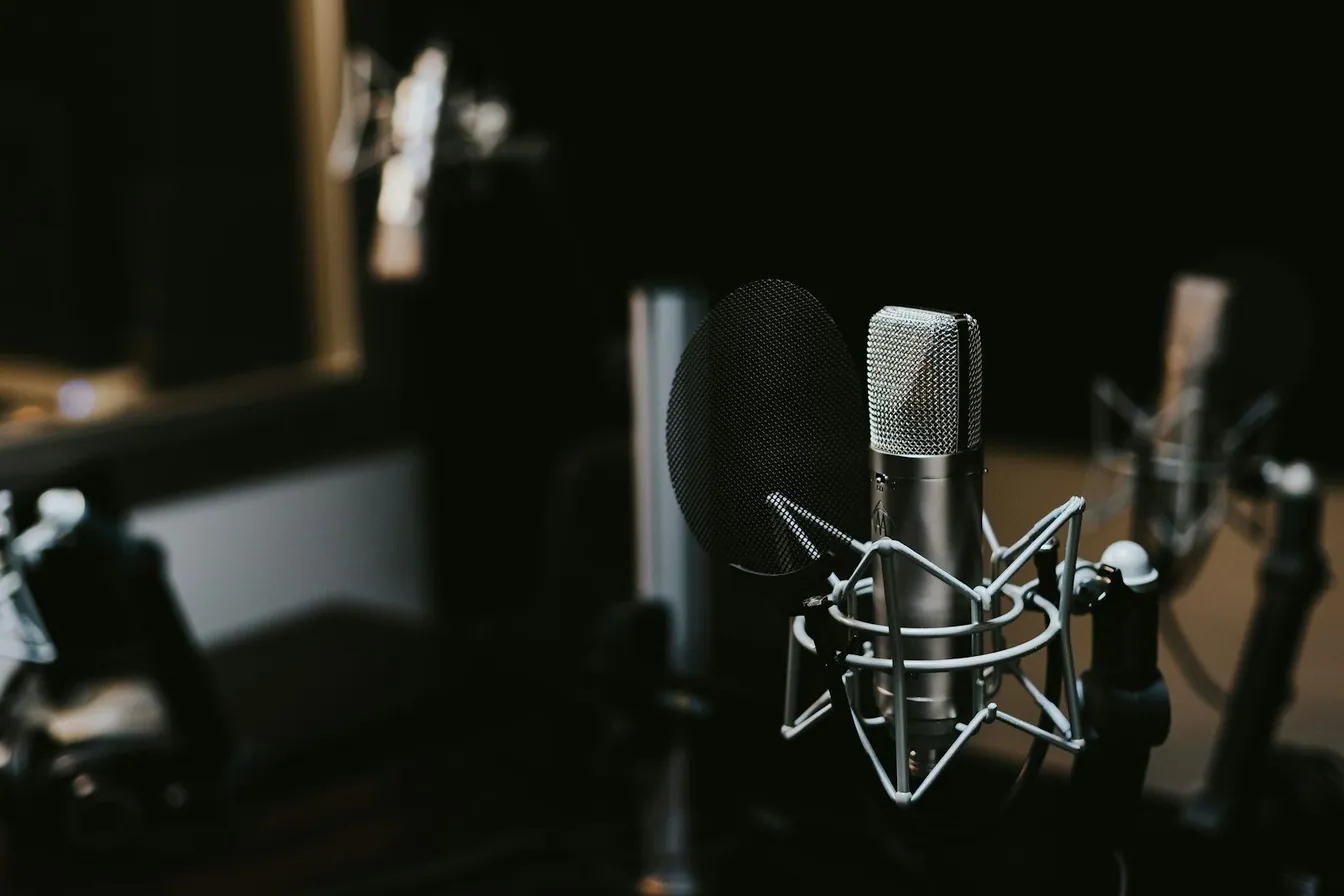
Learning how to record vocals at home comes down to three things: a quiet space, a clean signal and a performance you can commit to. Gear helps, but the decisions you make before pressing record matter more.
Most home vocal recordings fail for predictable reasons: untreated rooms, noisy gain staging and singers who never quite settle into the take. The good news is that each of these has a practical fix, and none of them requires a commercial studio budget. This guide walks through the setup, the recording process and the first processing steps, the same way our engineers approach a session at Sinus Media.
Build a quiet corner before buying gear
Your room shapes your vocal sound more than your microphone does. Bare walls reflect sound back into the capsule and create the hollow, boxy quality people associate with home recordings. Choose the softest, quietest space you have: a bedroom with a wardrobe full of clothes usually beats an empty living room. Record away from windows, fridges, fans and anything with a motor.
If you want to go further, hang a thick duvet behind and slightly to the sides of the microphone. The goal is to reduce the reflections that arrive at the capsule a fraction of a second after your voice. For projects that need a truly controlled environment, our vocal production service handles recording in a treated booth from the first take.
Get a clean signal into your session
Set your audio interface input gain so your loudest phrases peak comfortably without clipping. Sing the loudest part of the song while you set this, not a polite half-volume version. Aim for a healthy level with headroom, because digital clipping cannot be repaired later.
Use a pop filter a few centimetres from the capsule, keep cables tidy and switch off anything noisy in the room. Record a few seconds of silence at the start of the session so you have a noise print of the room. That small habit makes cleanup easier if you need it later.
Set a headphone mix that helps you sing
Headphone comfort changes performance. Give yourself enough backing track volume to stay in tune, but not so much that you shout to hear yourself. If the mix makes you strain, lower the instrumental or add a touch of your own voice with light reverb so singing feels natural. Close one ear if that helps you pitch, and keep the other headphone pressed against your ear to stop bleed into the microphone.
Capture options, then choose the best moments
Record at least two or three full passes before you judge anything. Early takes are usually stiff, and later takes loosen up as the song settles into your body. Record a final safety pass at a slightly easier intensity. Professionals rarely use one take from start to finish; they assemble the strongest phrases from several passes, a process called comping. If you are new to that workflow, our guide to vocal production techniques explains how engineers build a lead vocal line by line.
Basic processing that flatters home takes
Resist the urge to drown a home vocal in effects. Start with gentle corrective moves: a high-pass filter to remove rumble, a small cut where the room resonates, light compression to even out phrases and a de-esser where needed. Then add short reverb or delay for depth. If the track still fights you, it is usually the recording, not the plugins. Our team offers mixing and mastering for artists who want a finished, release-ready vocal without guessing.
Frequently asked questions
Can I record good vocals at home without acoustic panels?
Yes, if you choose a soft, quiet space and record close to the microphone. Duvets, wardrobes and carpets absorb reflections almost as well as purpose-made panels at close working distances.
Should I record vocals in one take or several?
Several. Multiple passes give you options when you assemble the final lead. One-take performances can feel special, but most released vocals are built from the best moments of a few takes.
How loud should my input gain be when recording vocals?
Loud enough that your strongest phrases peak with clear headroom, but never into clipping. Set the gain while singing the loudest section of the song, then leave it alone for the session.
Want a vocal that stands up next to commercial releases? Start a project with us and record in a treated room with engineers who produce vocals every day.
Keep Reading